The best way to get started backpacking is by learning from an experienced friend — that’s how I got started. Backpacking buddies already have some of the backpacking gear you need, but more importantly, they have knowledge. They know when to go, how to pack, why a long spoon is important, and where clear mountain lakes shimmer on hot summer days.
But what if you can’t go with an experienced backpacker? Still, it’s best to pair up with at least one buddy — it’s safer and more fun. That said, with a few tips and tricks, even a novice can get started backpacking by planning a great first trip.
How to Get Started Backpacking
Getting started backpacking is more than just gearing up — you’ll need to figure out where to go, how you’ll get there, and if you’ll need backcountry permits in order to hike in and stay overnight. Backpacking starts with research and a plan.
Destination Research: Permits, Loops, and Thru Hikes
To make it easier, look for a reasonably popular destination that is near where you live. Sure, you can start out backpacking in Yosemite National Park or the Grand Canyon, but if, for example, you live on the eastern side of the United States, you might want to try a section of the Appalachian Trail first. Alternately, there are many trails that are less traveled but are, nonetheless, super cool. If you know a backpacker — or even run into one — ask if they could recommend a good first trip that’s close to where you live.
Next, you’ll need to figure out if you need a permit to hike and camp — or if there are certain regulations you’ll need to adhere to. For instance, depending on the season and location, you might not be able to build a campfire. Or you may need to get a permit that you’ll need to attach to your backpack. Or you might need bear cans (like in Yosemite) or even need to apply for a permit and schedule your trip.
In some locations, you’ll have to hike into the wilderness from a trailhead . . . then hike back out, returning to your vehicle at the trailhead. If you have a chance, figure out if you can hike in from one trailhead and then hike through out to another trailhead. Obviously, you’ll need to do some vehicle shuffling for this to work, but the tactic does let you hike fresh new trails each day. A similar option is to hike a loop — a lot of trail systems will allow for interesting loop hikes.
Obviously, you’ll need a trail map — and I highly recommend that you buy a trail map for any area you plan to backpack in. In the meantime, you can do a lot of research with online map programs. In fact, I like to check out an area via satellite maps on my Mac — and you can do it, too, even on a smartphone or tablet.
Another great tactic is hiking into a destination, setting up camp, then staying over night. The next day, instead of packing up camp, keep your camp and instead take a day hike to explore a nearby destination — say another lake, a canyon, or a peak or ridge.
Choose the Right Backpacking Gear
To get started backpacking, you only need some basic gear, but the basic gear is critical to having a good experience. Obviously you’ll need a backpack. If you don’t have one to borrow and you’re not sure what to look for, read How to Choose the Best Backpacking Backpack.
Similarly, you’re going to need shelter, and that’s a lightweight tent. While you could sleep out under the stars, it’s a pretty stupid plan for a newbie backpacker. If you’re on a tight budget, check out 7 Best Backpacking Tents for the Money 2017. If you want more detail and help finding some truly sweet tents, read 10 Best Backpacking Tents 2017.
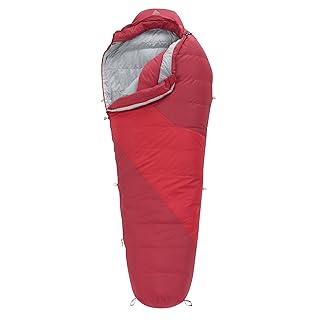
Next, you’ll likely need a sleeping bag. The kind most people have for camping are simply too bulky and too heavy. Read How to Choose the Best Backpacking Sleeping Bag.
There is other core gear you’ll need, of course, and that includes a backpacking sleeping pad, a water bottle or bladder, a water purifier or filter, a lightweight cooking stove with fuel, a cooking pot, food, first-aid kit, and various other odds and ends you can scrounge up out of your own camping gear and around the house. Read The Ultimate Backpacking Gear List to understand which gear is critical for you and which gear you might be able to leave behind.
Of course, while you can likely have a good time backpacking with sturdy trail shoes, it’s far safer and usually more comfortable to wear a pair of hiking boots. The rougher the terrain, the sturdier boot you’ll want. Same goes for longer trips with heavy packs. For shorter weekend backpacking trips, I’ve been tempted to wear trail shoes a few times, but have always opted to wear my hiking boots (and I’ve never regretted it).
Test a Load on Your Back
Before you hit the trailhead, definitely lay out all your gear at home — ideally with your backpacking buddy — and look over what you plan to pack. Do you have everything? What can you leave behind? Now load up your pack and try it on. Adjust the hip belt to take on much of the load, and adjust the shoulder straps to support and stabilize your load. Climb some stairs. Can you move around without hurting yourself?
For most adults, packing less than 40 pounds is ideal. For tough guys, big packs, and longer hikes, 45 pounds remains comfortable. For guys in great shape, 50 pounds is doable and everything more than 50 pounds can lead to injury or a bad experience. All of this, though, is just a rule of thumb. Lighter is always better except when you need something critically important, like a first-aid kit. Or some paracord to help in an emergency situation. Most newbies pack far too much of all the wrong gear, so read 7 Steps: How to Save Weight Backpacking.
Take a Mobile Phone
Don’t forget your cell phone — and even consider taking a backup battery in case you lose your charge. Why? Emergencies. Or reading an ebook. Or using the built-in flashlight in, say, another emergency. More importantly, if you get injured, you can call for help. You’ll be surprised at how far back off of the pavement you can go and still get a cellular signal.
Remember, though, that your smartphone will do you little good if you’re out of range of a cellular signal . . . and odds are, you’ll end up going somewhere out of range. So use your head. Backpacking isn’t inherently dangerous, but dumb choices any time you’re in the woods can lead you into dangerous situations. And a broken ankle 30 miles from the nearest road? That’s always dangerous. (Hence the hiking boots!)
Take a Paper Map
Didn’t I already say you need a map? I did, and I’ll say it again: Make sure you have a map. Topo maps on your smartphone can work great, as well as via a dedicated GPS unit, but are you ready to trust your best friend’s life to a digital device? I thought not. Buy a trail map before you go. Besides, sitting in camp looking at the mountain peaks around you — with a map in hand — is cool in its own right.
Once You’re In the Backcountry
It might not be obvious, but you’ll need a plan for water. You’ll want to leave the trailhead with full water bottles and/or with a full water bladder. Make sure that you’ll be able to find water to filter or treat along the way — a creek or lake. And your destination camp should have plenty of water readily available. Remember, you’re a newbie, so don’t trust your own water judgement. You’ll need more than you think, so plan a trip that has plenty of water sources and know where they are.
Along the way, be sure to take a rest when you think you need it — or your buddy needs it. Plus, remember that you’re likely far tougher than you realize — just because you’re tired and sweating doesn’t mean you really need to stop. But being tired and sore is far different from being in pain, so listen to your body. And if you don’t have enough experience to know when to stop and when to push on, don’t go backpacking without an experienced buddy.
Here’s a story for you: I was with one experienced backpacker who — while climbing a long uphill trail in the sun — simply ran out of energy (after about 10 miles). Our destination was just a quarter mile farther along, but she was out of gas. So we sat down, drank some water, and waited a few minutes. Her energy didn’t return. I finally fed her — literally — a couple of small bite-size Snicker’s chocolate bars. And then we sat and rested in the shade for another twenty minutes, maybe longer. And then she started feeling better. She put her pack on and we made it to base camp. A full day of backpacking can be deceptively draining, so you want to make sure that you’re having some sort of small snack every couple of hours.
Once you get to base camp, set up your tent first — you never know when an afternoon storm is going to roll in and rain. Next, filter or purify enough water to fill your bottles. You’re going to need water to rehydrate and cook. Get it done.
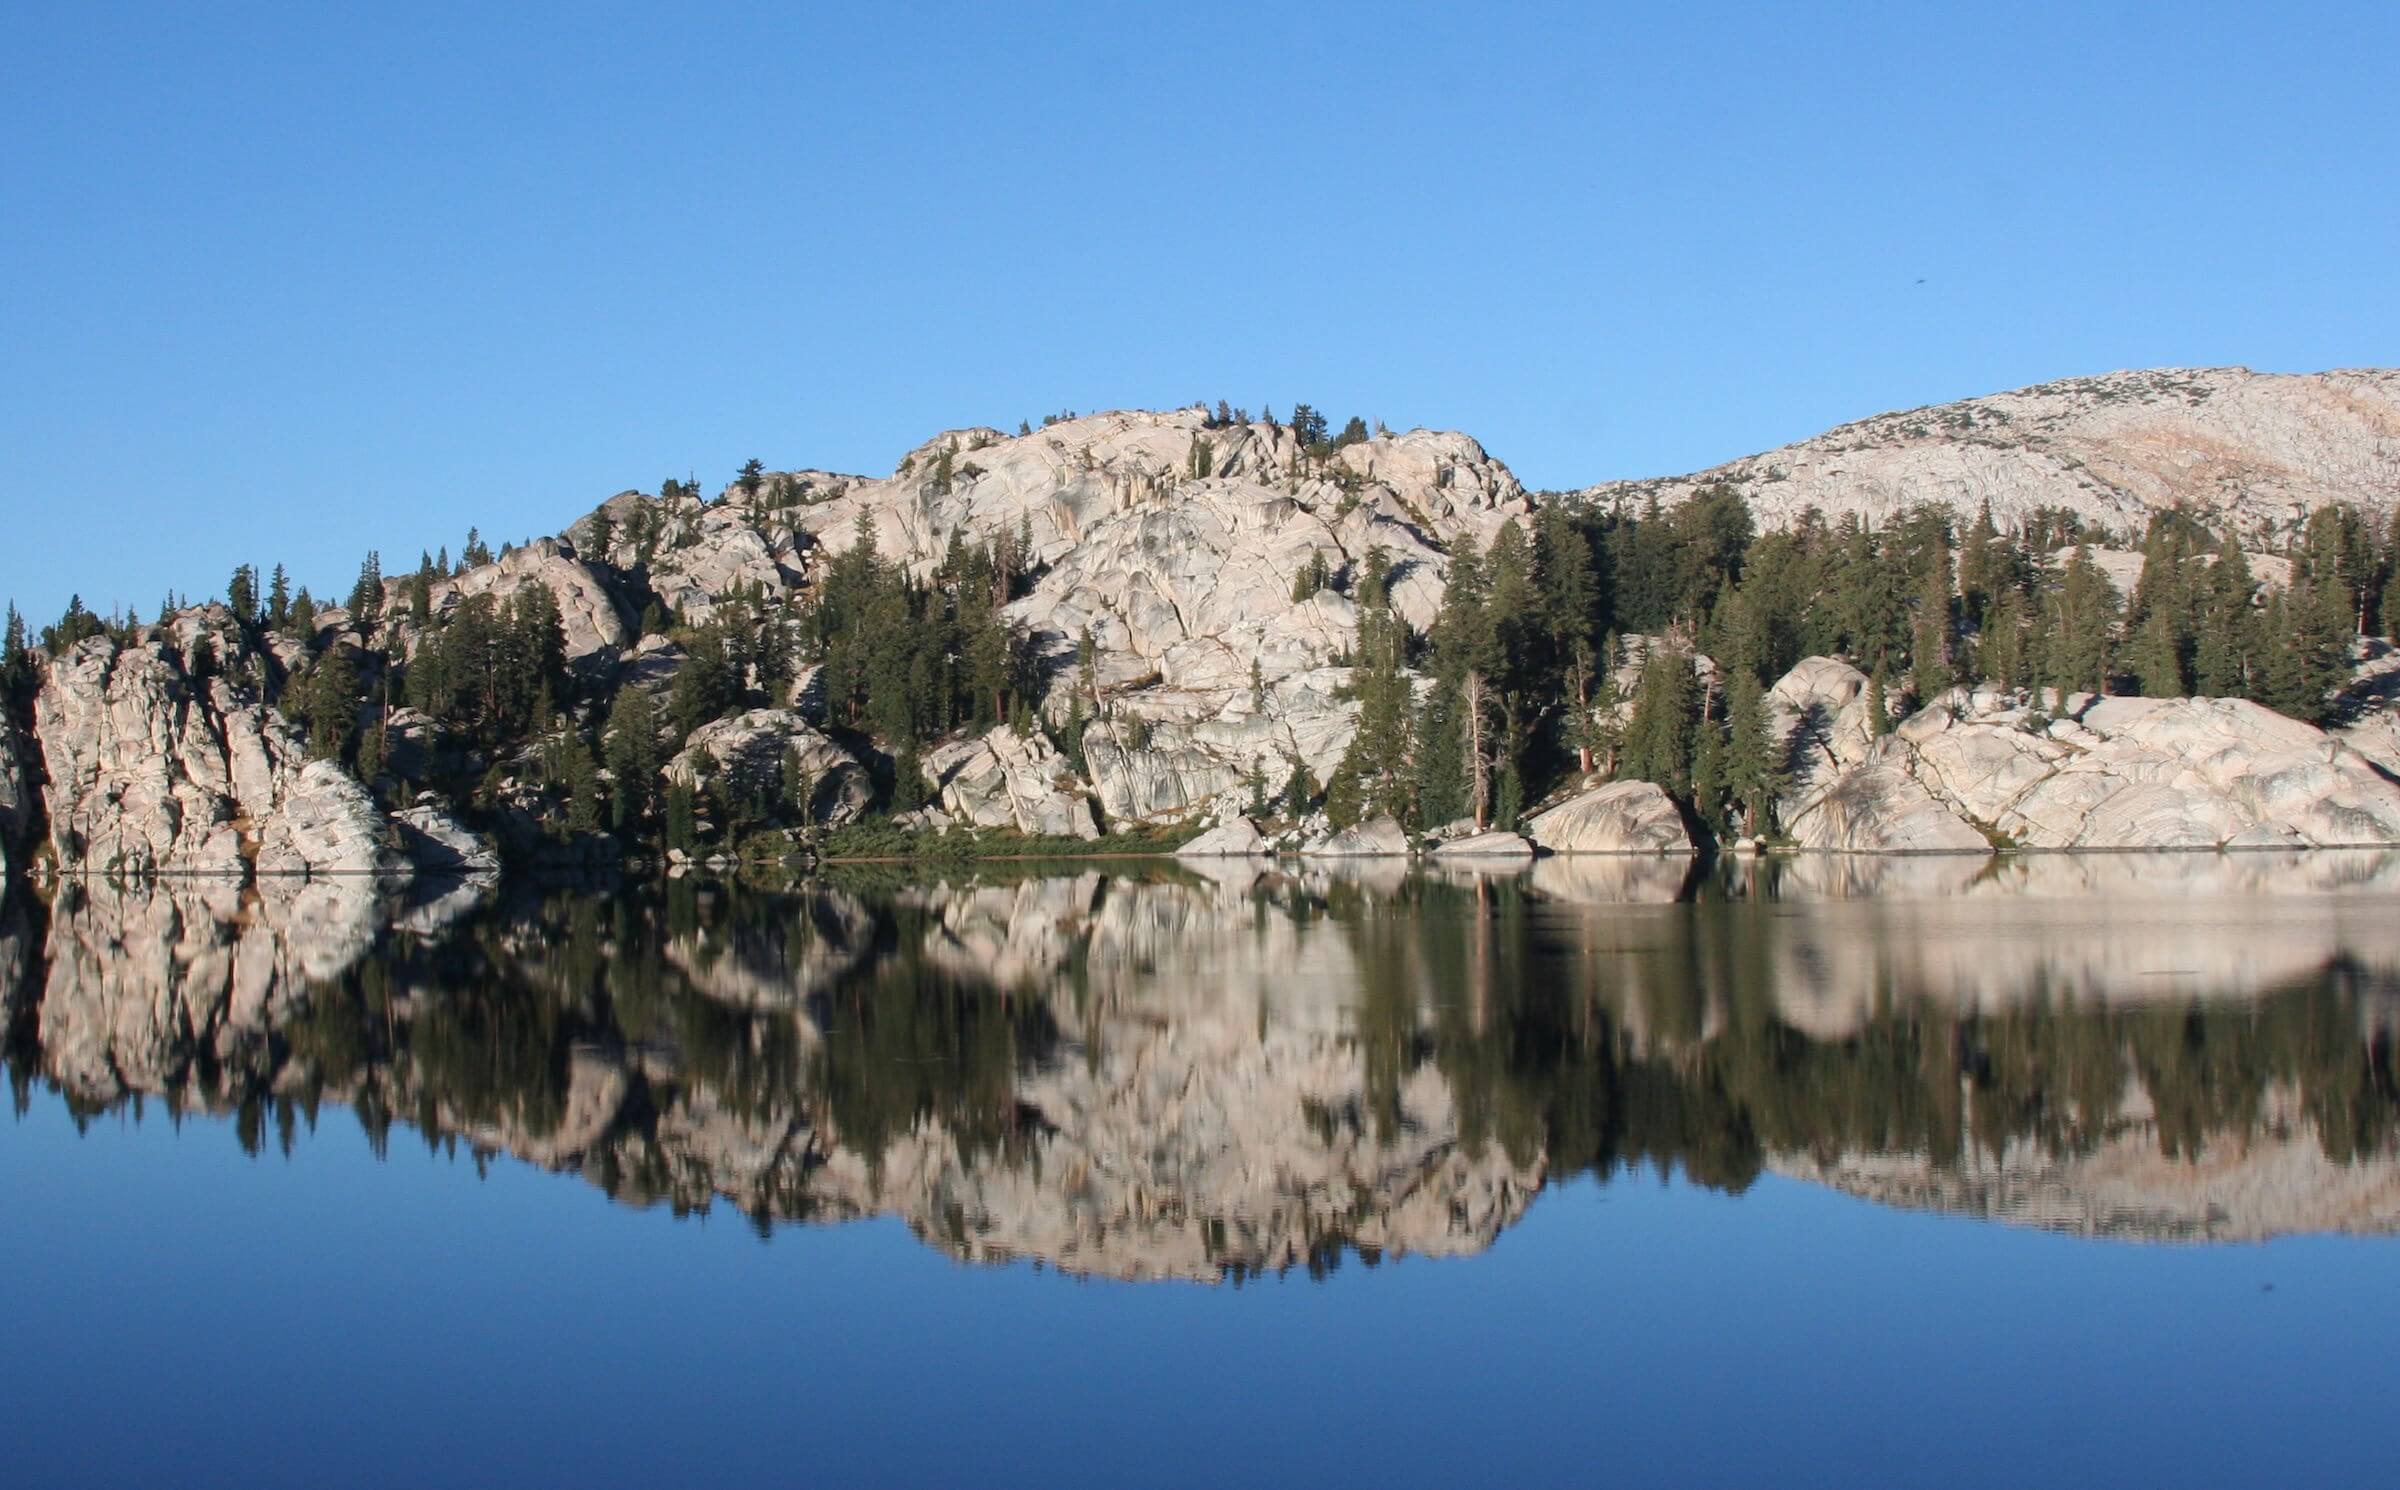
After that, kick back and enjoy the view. Go fishing. Set up a hammock. Explore. Relax.
That’s why you want to go backpacking in the wilderness, right?
More Backpacking Gear Lists
- 35 Best Gifts for Backpackers
- Stocking Stuffers for Backpackers
- 25 Gifts for Backpackers Who Have Everything
Best Ultralight Sleeping Pad for the Money

Best Down Sleeping Bag for the Money
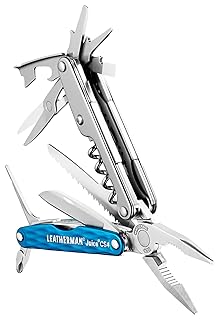
Must-Have Gear: Lightweight Multitool
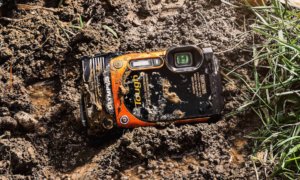
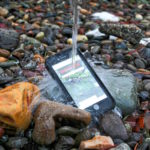
Gear Guide: Best Waterproof Cameras